Creating New Chatbot
2. Setting ChatBot Information
3. General Reply Database
4. Main Reply Database
5. Reply Extension Database
6. Reply associated with Yes/No/Why/Doubt/Elaborate
7. Keyword Search database
8. Keyword Search Start ... and End with ... Database
9. WorkSeek Database
10. Correction Database
Introduction
Creating New Chatbot (Database)
Specifying Database Path for the Chatbot
The tutorials here
are only very basic introduction. To learn more, there is a button
 in most of the sections in the
editor. Besides you can also refer to the sample database (Create New ->
Select use existing database) to learn more.
in most of the sections in the
editor. Besides you can also refer to the sample database (Create New ->
Select use existing database) to learn more.
When you first started the Editor, the screen below will be shown:
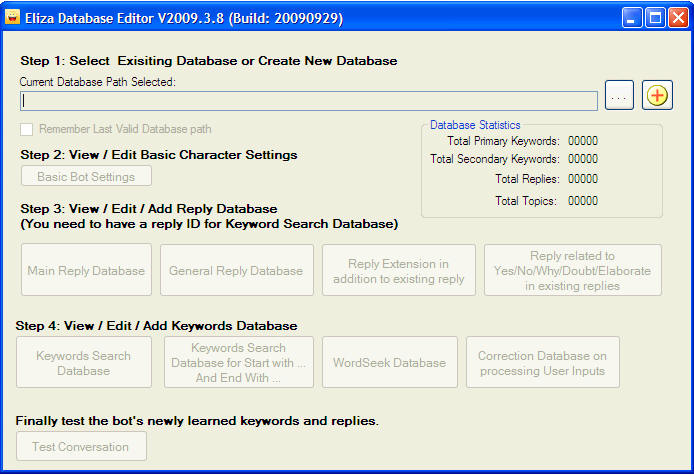
- Notice that most buttons are disabled. This is because the editor needs to know where the database (the brain) of your chatbot located.
- If you have existing chatbot, you will need to specify the
location (file folder) of the chatbot by clicking on the button:
 .
.
- If you do not have existing database of chatbot, you will
need to create one by clicking on the button:

After you clicked
from the main menu, the
following screen will appear.
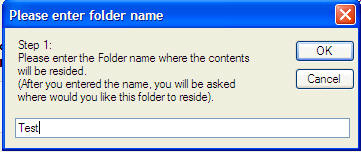
Step 1:
Just follow the instruction as shown.
In this case, I have put "Test" as the file folder name.
You can always manually rename the file folder later.
Follow the rest of the steps to create a "Test" folder in your selected location.
If you open the Test Folder, you will see the list of newly created files as below:
The ChatBot is the main application file. You may distribute this whole folder anytime.
Next you need to specify the location of your newly created folder (The database path) to start editing...
- After you clicked
from the main menu, the
following screen will appear.
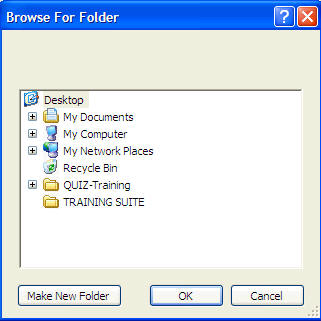
Here you need to select the folder holding your chatbot.
The editor will briefly check if it is a valid file folder for chatbot database.
Once a valid folder has been selected, all buttons will be enabled for you to do further editing of the database.
If your bot has just been newly created, the recommended next step is to key/update the basic chatbot information.
- Please note that each bot will come with a password to open, if this bot is newly created, the default password is 12345. Once you opened the new bot with default password of 12345, you may change the password to password of your own choice.